
Why do many landscape and cityscape photographers go for Long exposure?
In order to know how to take a long exposure photo, let’s answer the above question first, I would like you first to see the two images below and find out the difference between both and your reaction toward each one of them.
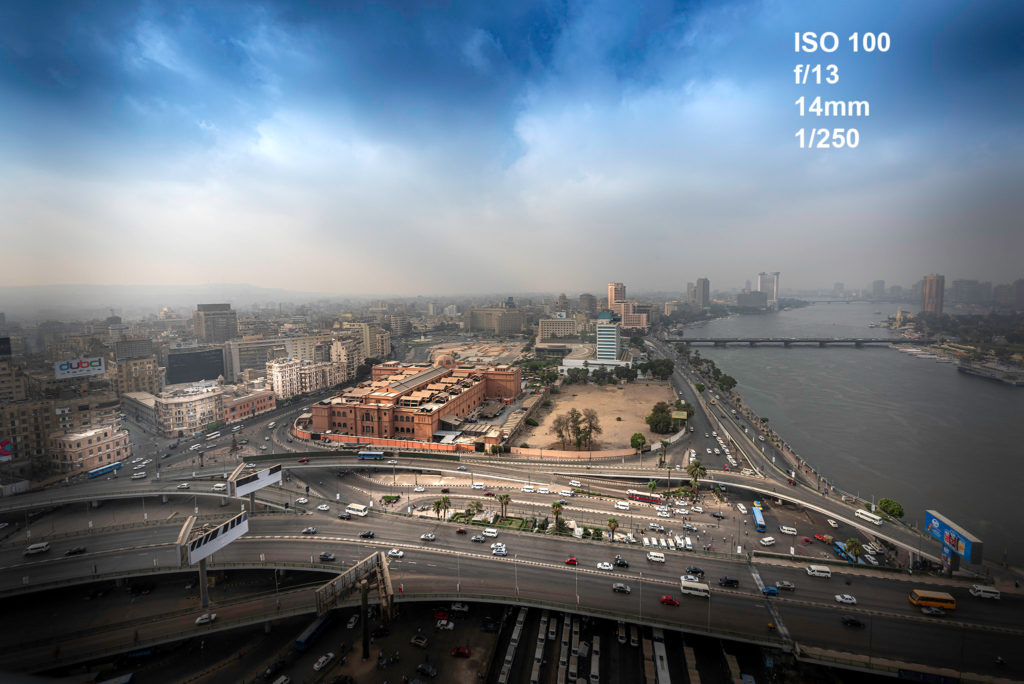
Cairo, Liberation square, time was about 9:00 am
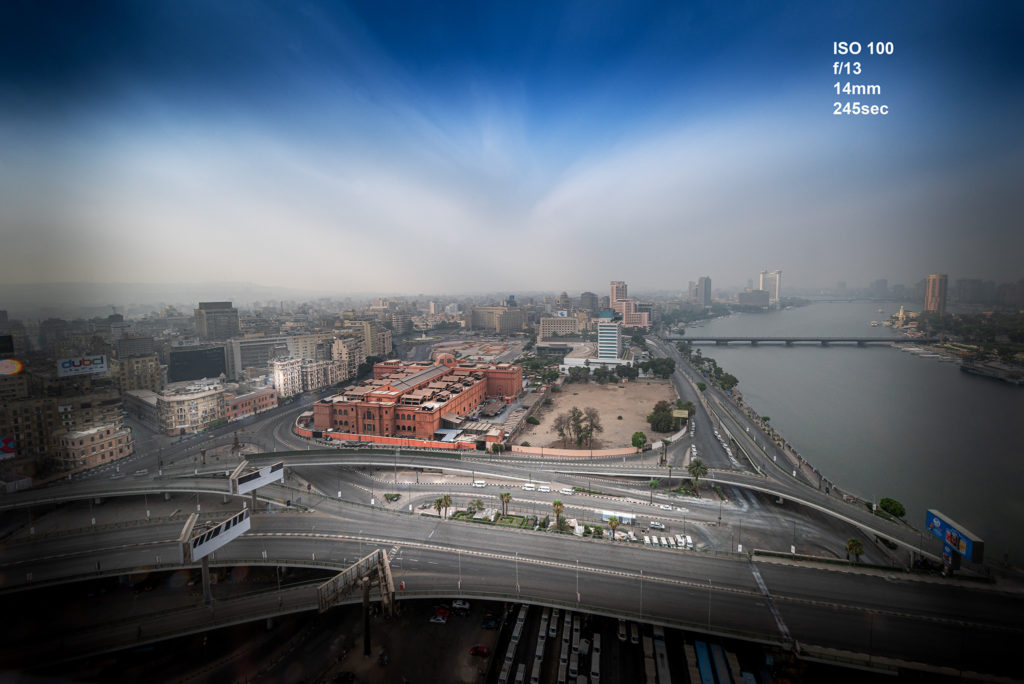
Cairo, Liberation square, time was about 9:00 am but with 245sce
I believe the long exposure gives you such kind of feeling you get when you see a fine art picture or paint whereas the other image could be captured by any cell phone with just a good composition.
As an artist, you always seek beauty in your photography, and that’s why most landscapes and cityscape photographers use the long exposure technique to gain such a result while no one else could create that unless he knows this technique. Look at the stretchy clouds and the silky water, have you noticed the vehicles have been disappeared? This is the magic of long exposure photography.

With the fast shutter speed
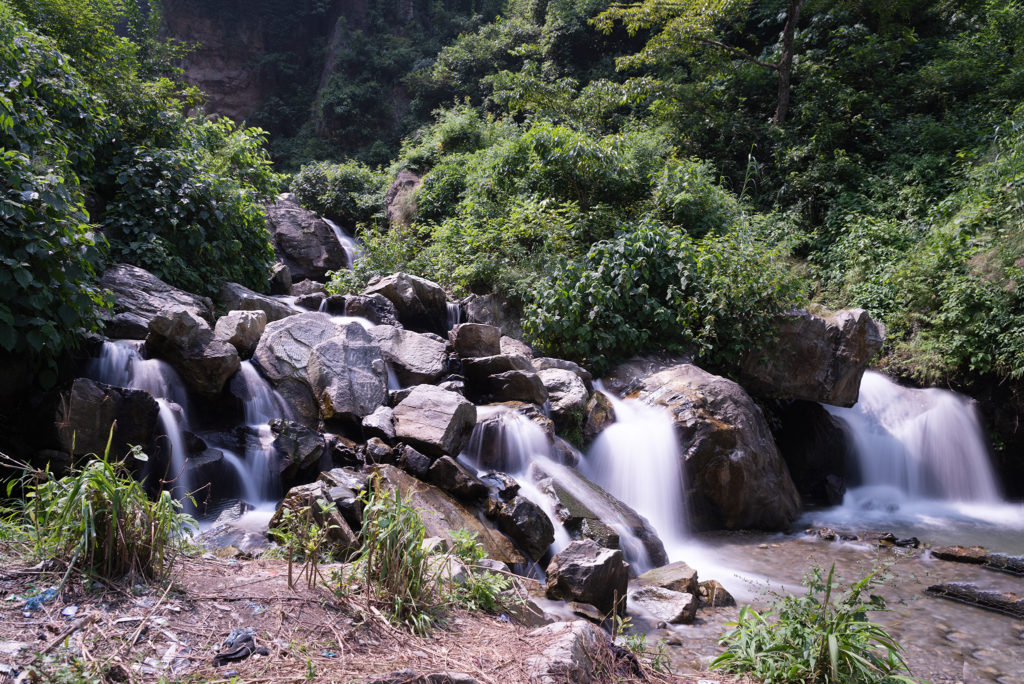
Waterfalls in Nepal “long exposure
The above photos show how long exposure creates a beautiful motion effect in the waterfalls.
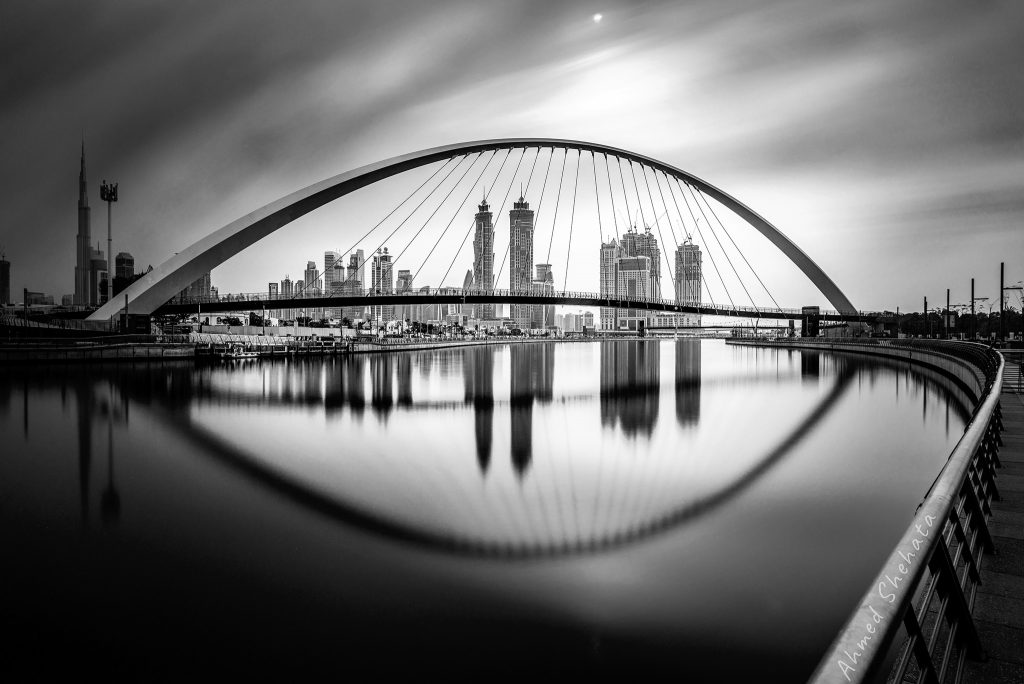
Black and White Long Exposure Photography
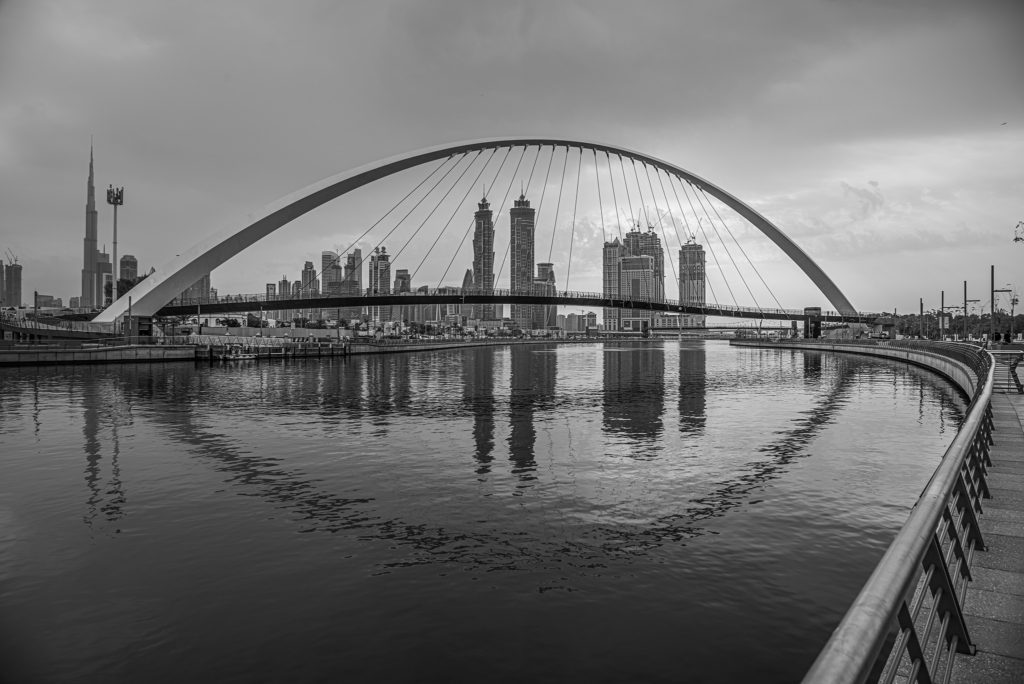
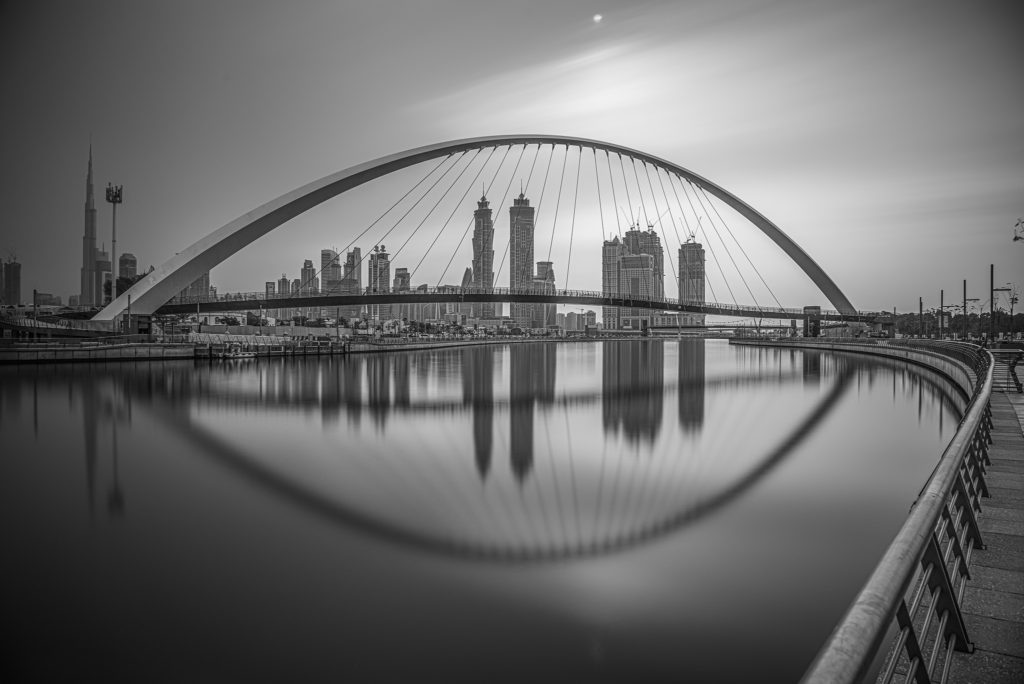
When you don’t have exciting colors in the sky, go for Black& White.
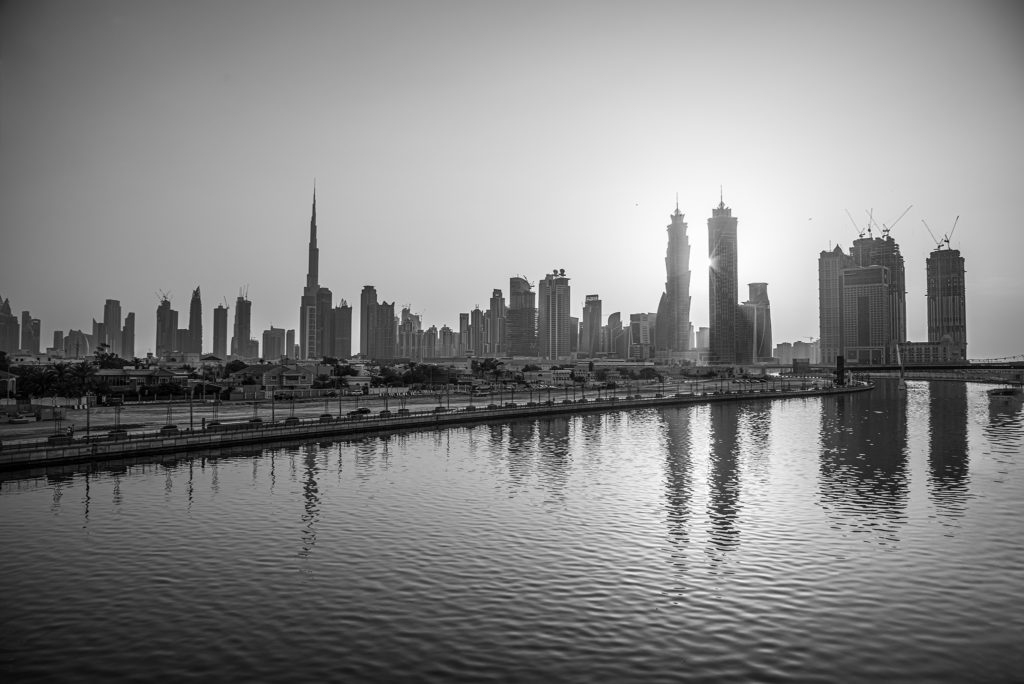

I have taken the above two images at the Dubai Canal on the bridge and while walking around, I found the below beautiful composition with the leading line to the bridge which as you notice, the long exposure created with the bridge reflection in the water a shape like an eye containing most of the back buildings within.
How to photograph Long exposure?
To understand how, you need to be aware of the many elements involved in long exposure photography. These elements are: Equipment, settings, Timing, configuration and many which we are going to explore in a bit high level of detail as the topic is vast, but by following the steps, you can start your journey.
Equipment:
1. Tripod,
Long exposure practically means that you are going to open the shutter for a long time than you usually do. Thus, you need to have a strong, steady tripod in the first place.
2. ND Filters( Natural Density filter)
Practically, the cameras are not designed for long exposure, by keeping the shutter open for a long time, the volume of the light that hits the sensor will be massive, and the picture will be by no doubt overexposed. That’s why the ND filter, in this case, comes to help to block the light and enable us to open the shutter for a longer time.
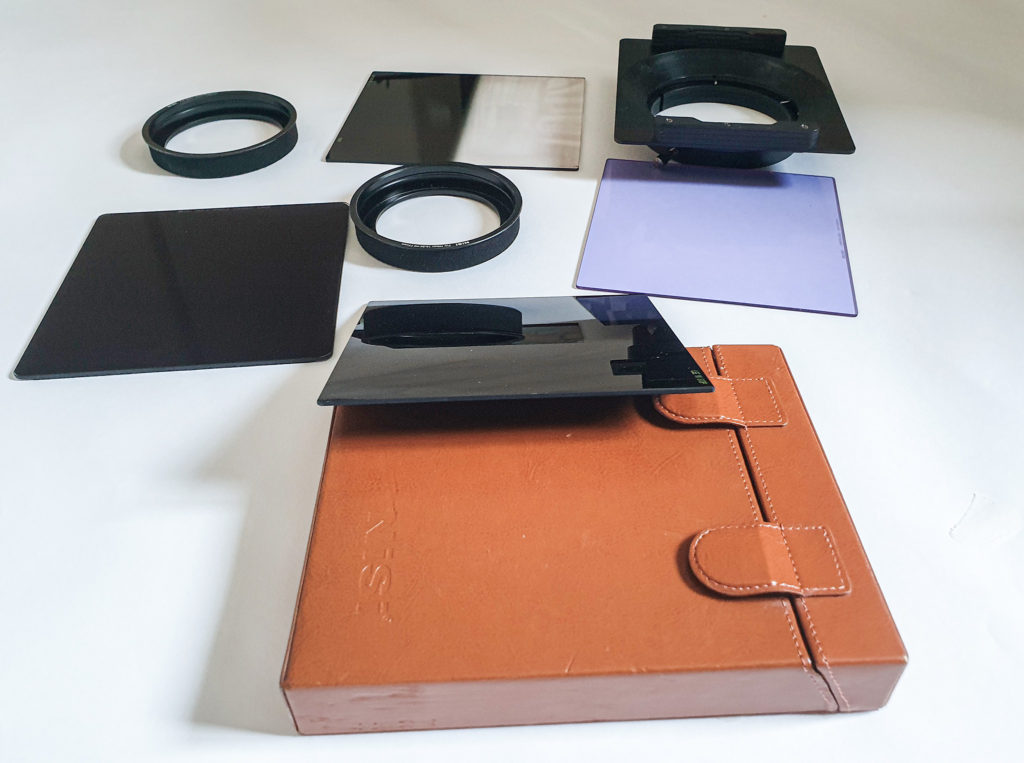
But, you need to be careful while buying the filters, you need to get a good brand and the holder to be comfortable and practical in use. There are many kinds of filters that come with the gasket at their edges to prevent the light from affecting your exposure” Lee has this gasket” I, myself use Lee filters and NISI. Both are closed to each other in terms of quality and price. But to me, I have replaced the Lee holder with NISI as NISI is more straightforward and practical in use from my perspective.
3. Gaffer tape.
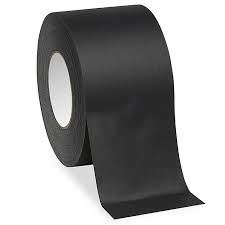
It is a tape used by professional photographers and available online. This tape is dark enough to prevent light leaks as you should use it to cover all the possible area could cause light leaks meanwhile it is clean and doesn’t leave any gum behind when you remove it.
4. Shutter Release Cable:
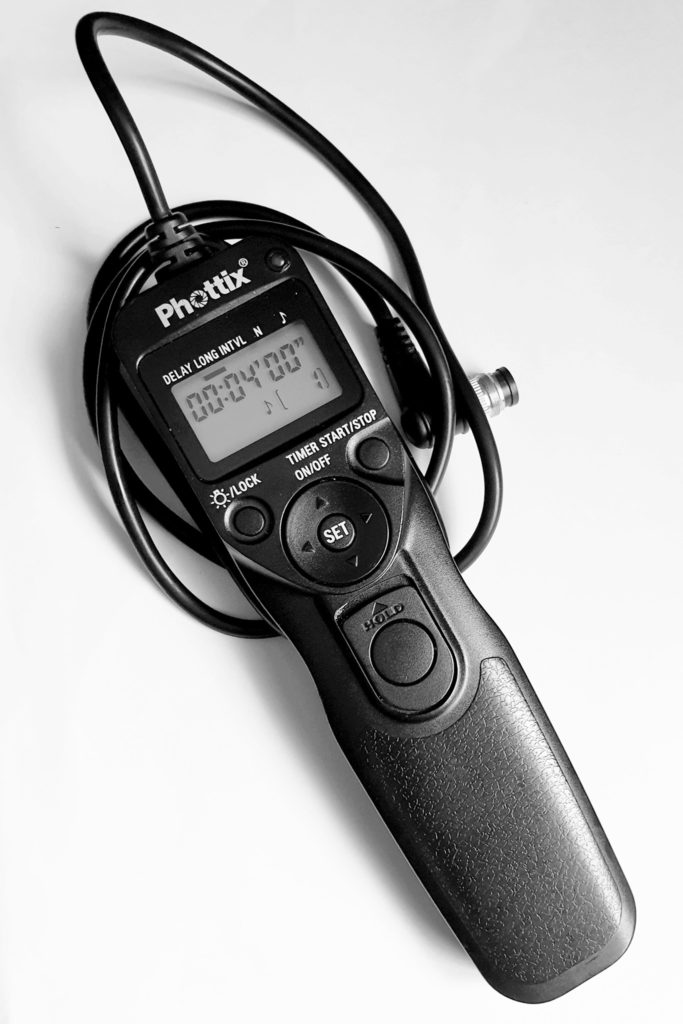
As you are going to shot a long shutter based photo and you have already fixed your camera on top of a steady tripod as mentioned earlier, you don’t need to shake your camera by pressing the shutter release button yourself especially if you know that you need to keep pushing for more than 1second to minutes. This remote will keep your camera static.
The Moment Of Truth: How to shot for long exposure?
Now you have your camera set on the steady tripod, attached the shutter release cable remote, fixed the filter’s holder on the lens, and you are ready to go.
Before you attach the filter you need to get a proper shot with proper exposure.
- First of all, don’t forget to get the best composition you can because it is essential to plan your shot as it will be a long exposure. Your shot has to have a purpose in your head in advance.
- Turn lens stabilizer off in your camera( your camera is fixed on the tripod, you don’t need the stabilizer)
- Adjust the focus preferably to be manual. Meant, you need to turn off the autofocus to avoid keeping the camera trying to adjust the focus after attaching the filter.
- Chose the right F stop first, my favorite f stop is between f8 and f16. This does give me the sharpness I need and great depth of field.
- Adjust the relative shutter speed accordingly to give you the right exposure.
- Don’t forget (the lower the iso, the lower the grains/ noise and the sharp is the photo. It is preferred to be 100 or lower).
- Once you have the right exposure, shot the first image. this image will be your starting point.
- Now it is the turn of the filter’s job. Use the Bulb Mode to control the shutter speed. (this mode is beyond the 30 seconds shutter time) Now you need some math to calculate the number of stops you need to add to the shutter time to compensate for the missing light. To make understandable, if your shutter speed on the photo you have taken in 7 1/125″ and you intend to use 3 stop ND filter that means you need to open your shutter further by 3 stops meant your shutter should be 1/15″ and if the filter is 6stops, you should lower the shutter by 6stops to be 1/2″. However, there are many apps for exposure calculation in the Apple store and Android that gives you a quick estimate. No need to memorize any configuration, but you got the idea.
- Once the Shutter speed is set, shoot your first photo with the filter, I take more than one shot with the same exposure and then start to play around the f stops and the ISO. This will help you during the post-processing.
What about the Mirror Up technique?
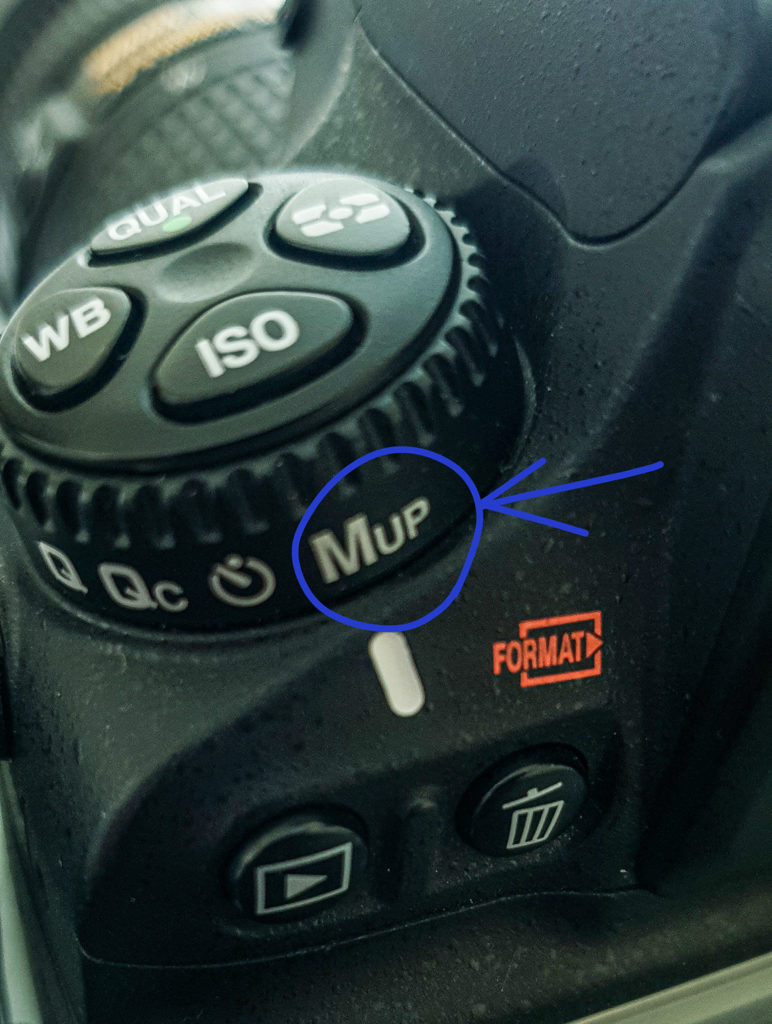
Sometimes photographers use this feature to avoid the blurring caused by the camera shake due to the movement of the mirror up and down while pressing the shutter button. Such functionality is usually followed when there is a telephoto lens even with a heavy, steady tripod.
I don’t remember how many times I have used it. only once or twice because the blurry in the picture is hard to be noticed. However, it is your choice.
Mistakes you should avoid!
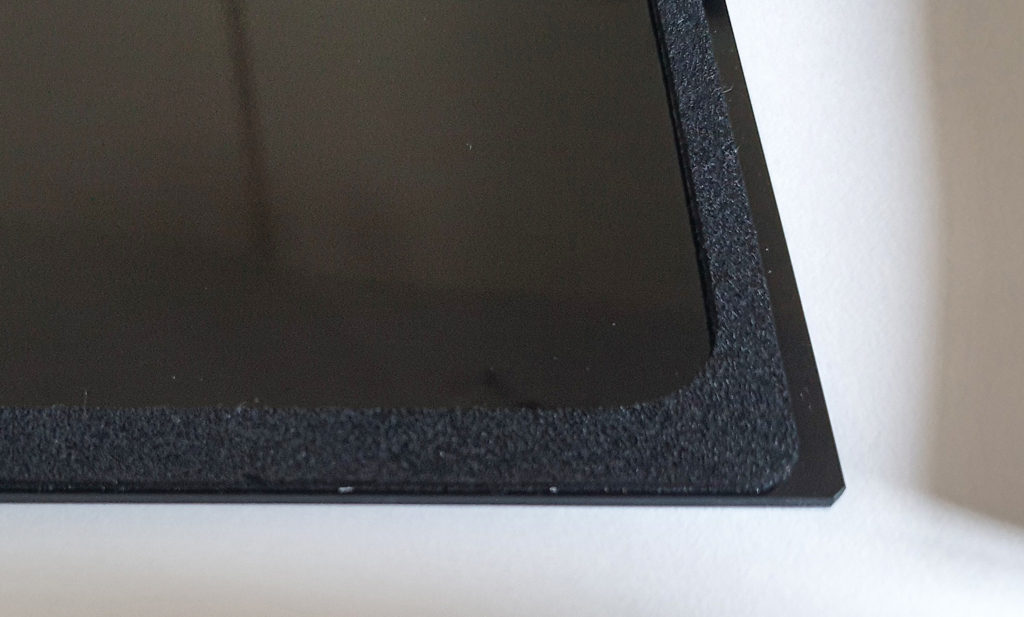
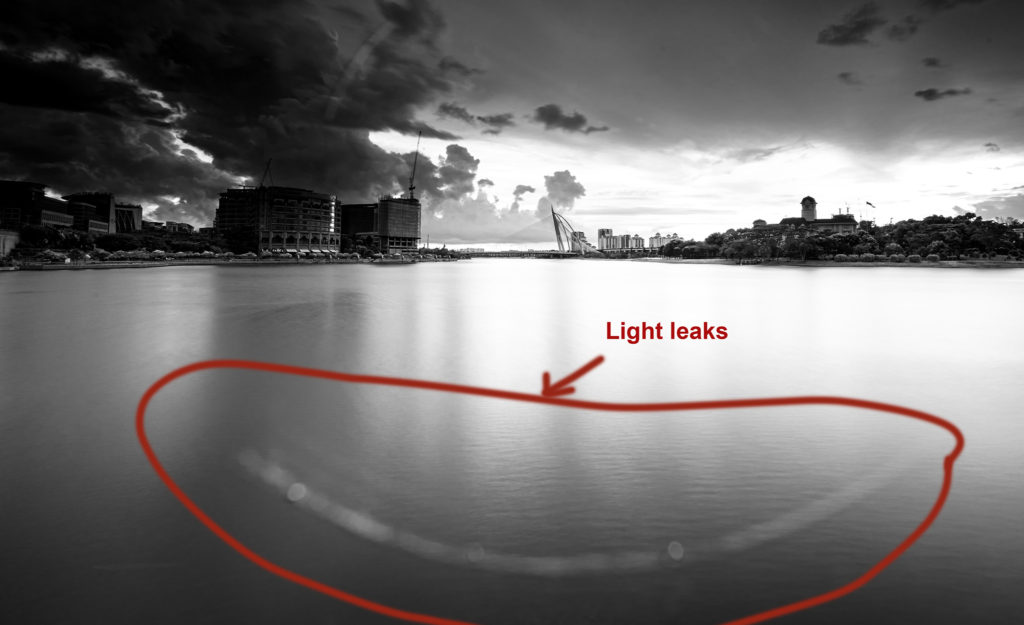
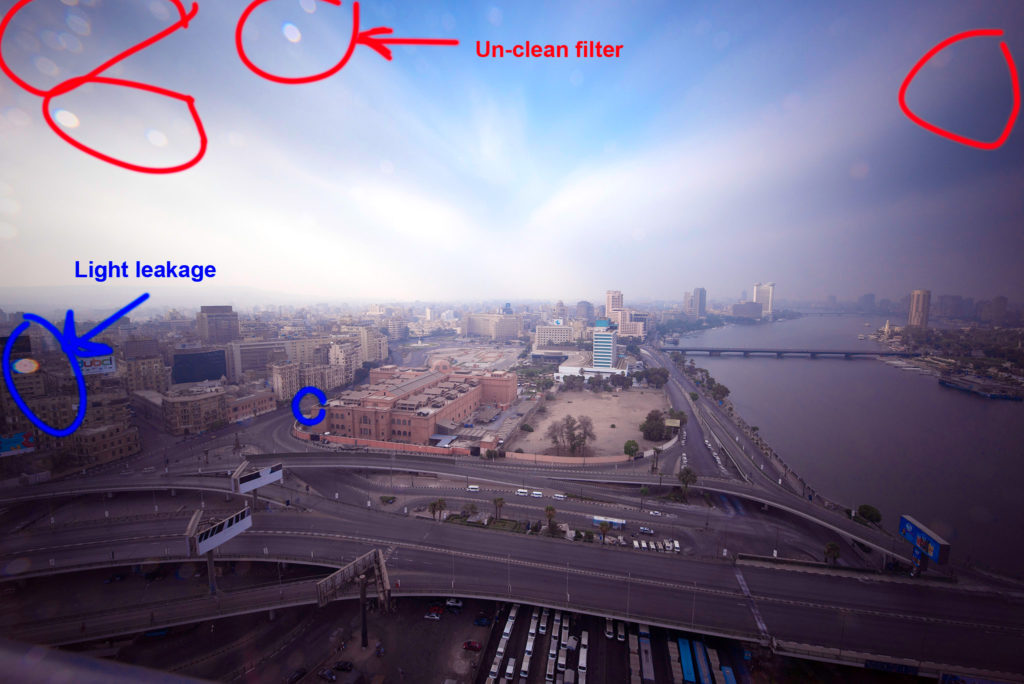
- light leaks: To prevent the light leaks like what you see in the below photo, you need to block all the light would reach to the sensors other than the light trough the lens/ the filter so you need to check if the filter has no casket, you need to cover the space between the filter and the lens by gaffer tape. Another area where you expect to get light leaks is the camera viewfinder, and there is always a piece of rubber either built-in or mobile to cover the viewfinder for this purpose. Make sure to have it block the viewfinder or else use the gaffer tape if you missed it.
2. Dust, dirt on the lens or the filter, always keep your equipment clean as possible as you can. A piece of soft fabric will be your rescue in this mission. Before you shoot, make sure that all the glasses are clean and shining.
Finally, feel free to play around the F value and the ISO, you can make a bracket of three pictures and blend them and examine them. It may end up with something new primarily if you use the luminosity mask technique to get the High Dynamic Range.
If you like my blog, please subscribe or leave a comment below.
Question! In your opinion, Is the night photography long exposure?
Полезно
Thanks
This site is mostly a walk-by way of for the entire info you needed about this and didn’t know who to ask. Glimpse right here, and also you’ll positively uncover it.
Thanks